|
|
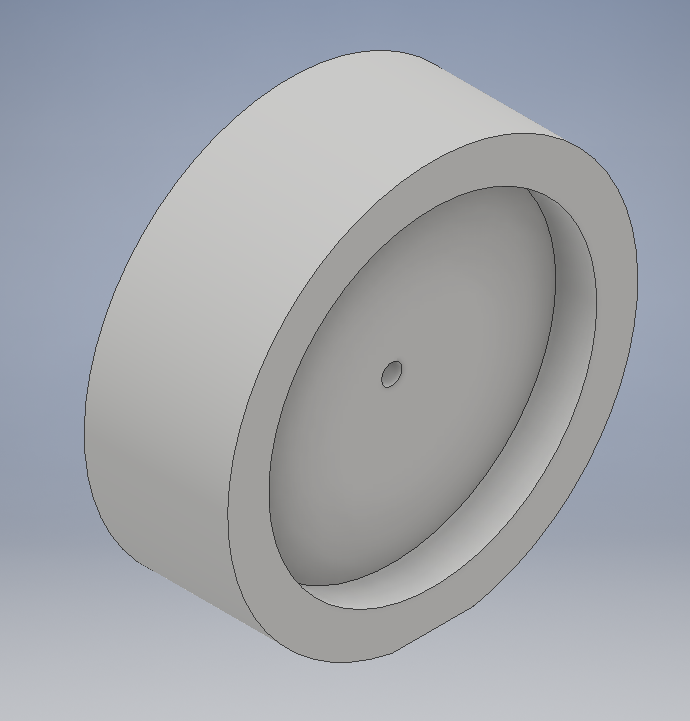
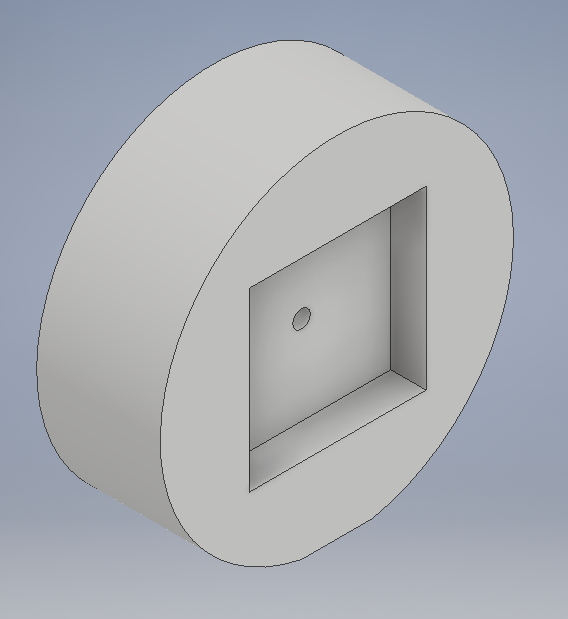
On the left is the front of my clock. I have a flat part on the bottom of the clock so that you don't have to hang it up and you can have it sit without rolling around. On the right is the back of my clock. I cut out a square so that the clock mechanism could fit inside. I did this in inventor because I wanted to 3-D print my base of my clock.

This is in inskape and it is what my numbers will look like. I did it in inskape because it is just like illustrator and I wanted to use the vinyl machine to cut out my numbers and then stick it on the base of the clock.
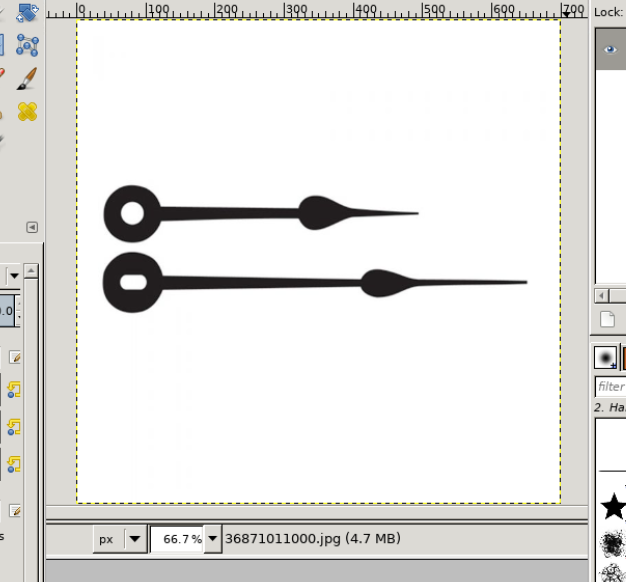
These are the hands on my clock. I used inskape for these too because I wanted to use the laser to cut out the hands.
Day 1: Brainstorm and do all sketches and blueprints. Get everything ready to go on the illustrator and inventor.
Day 2: 3-D print my base, cut out numbers and clock hands on vinyl and laser.
Day 3: Assemble the clock with the mechanism and the hands and stick on the numbers.
Day 2: 3-D print my base, cut out numbers and clock hands on vinyl and laser.
Day 3: Assemble the clock with the mechanism and the hands and stick on the numbers.
