Inventor is a CAD program. CAD stands for Computer Aided Design. Inventor allows you to make sketches into 3-D products. We used inventor to make our widgets that we drew in class.We made a sketch in inventor and then we extruded it so that it was a 3-D object. Below you can see how I made my widget through inventor and the 3-D printing process.
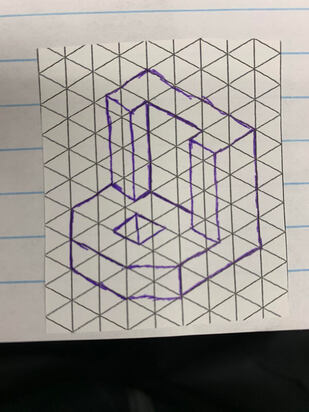
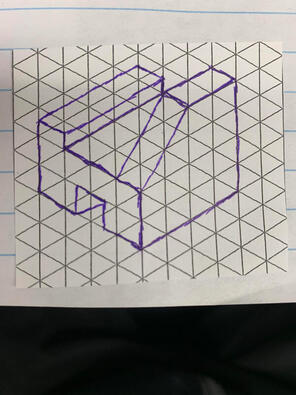
Designer Notebook Sketches
|
|
Step-by-Step Pictures
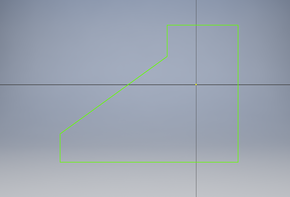
1
|
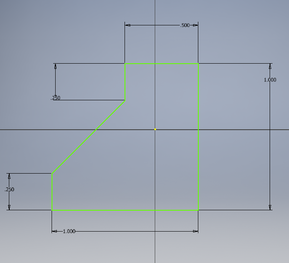
2
|
3
|
4
|
5
|
6
|
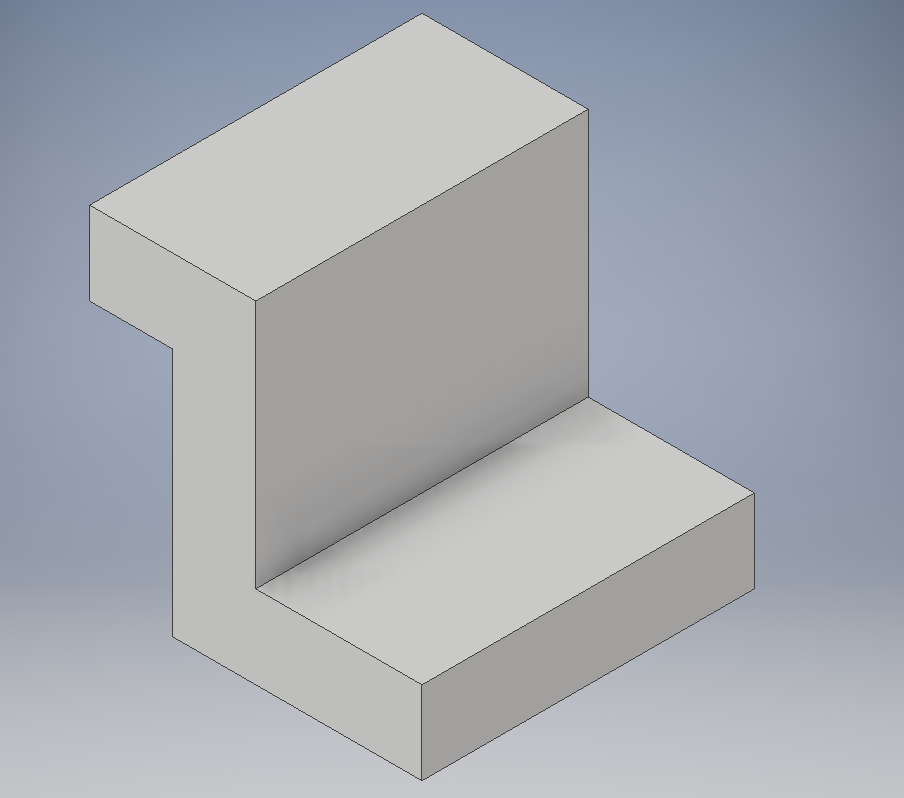
- To start off you create a 2-D sketch and sketch on the X-Y plane. You then use the line tool to draw a sketch of your widget as seen in the first picture.
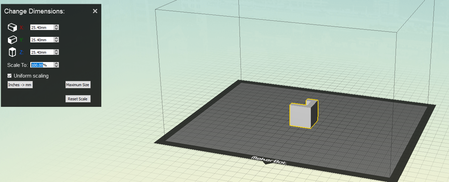
- Then you dimension your widget to fit the correct dimensions shown in picture 2.
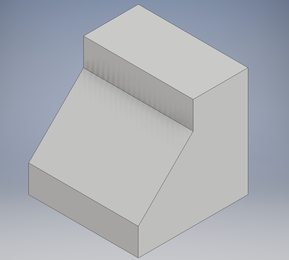
- Once you have the correct dimensions you have to extrude your sketch so that it becomes an 3-D object as you can see in picture 3.
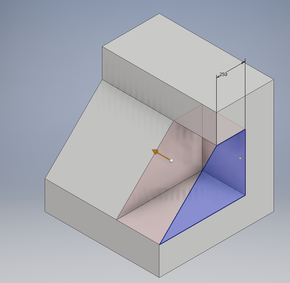
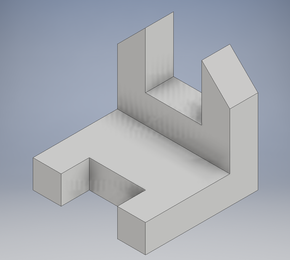
- Then you have to make another sketch on one of the sides of the widget. You dimension it and then extrude it towards the middle of the widget so that you make a cut out as you can see in picture 4.
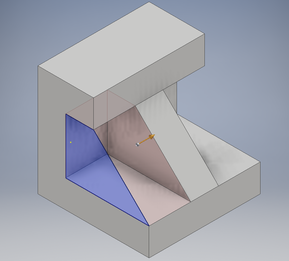
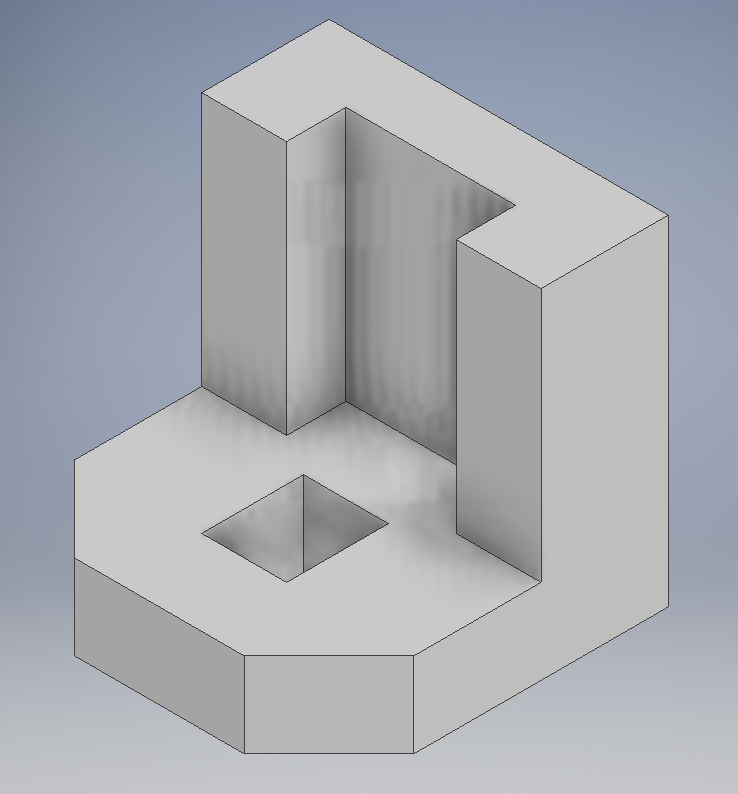
- In picture 5 you do the same thing as step 4 but you do it to the other side.
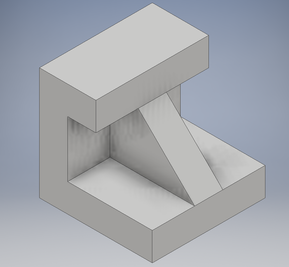
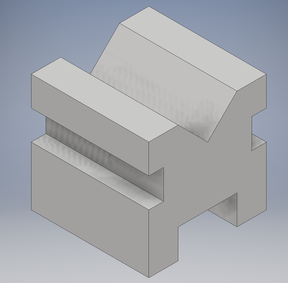
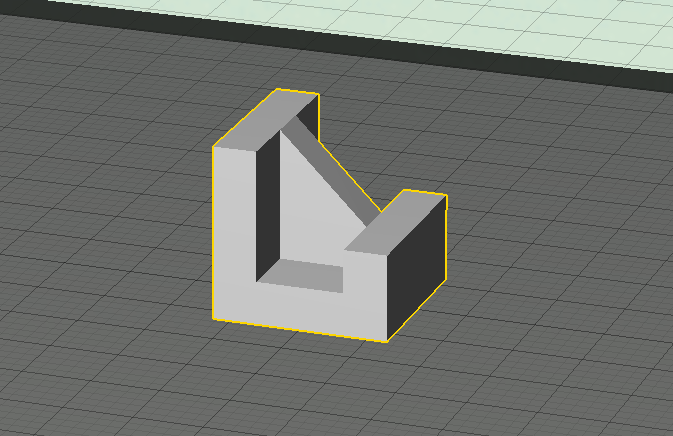
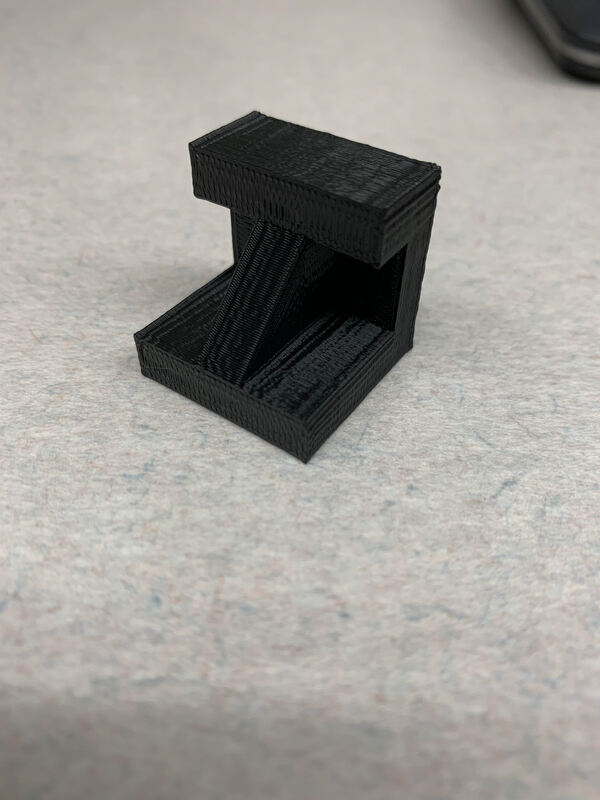
- In picture 6 you can see the final product and what widget 2 looks like.
5 Widgets
|
|

|
|
|
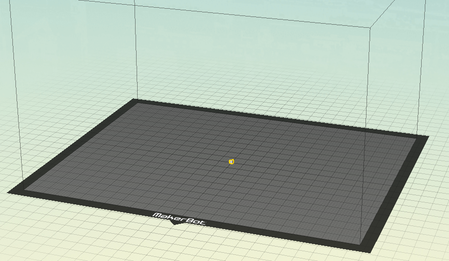
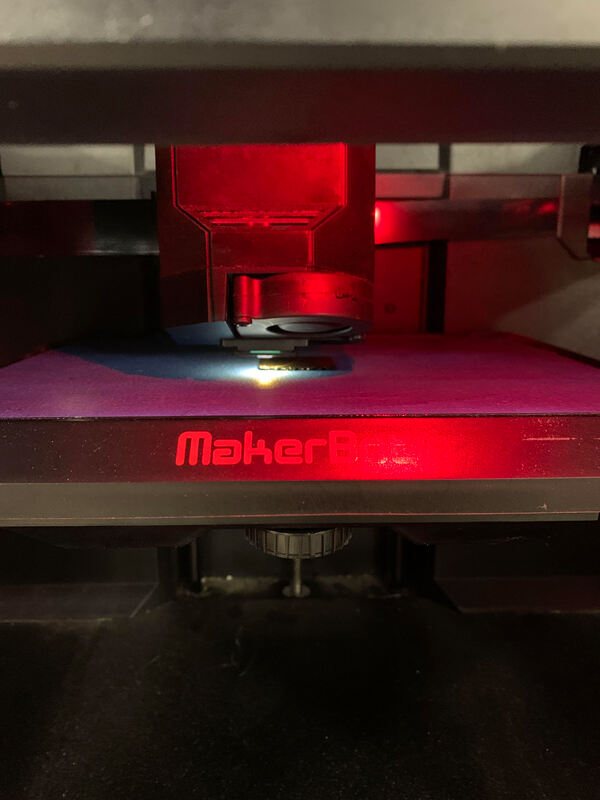
MakerBot Pictures
|
|
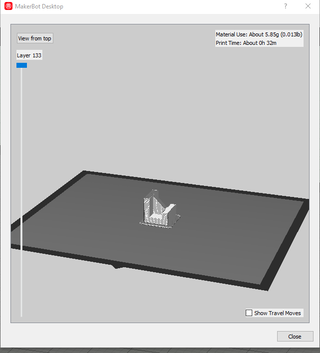
Printing Final Widget
|
|
Summary
During this 3-D printing process I learned a lot of things. I have never used Inventor before so I learned how to use Inventor to make sketches of my widgets. I learned how to use those widgets from inventor and transfer them to Maker Bot. I also learned how to use Maker Bot because It was my first time using Maker Bot as well. I got the hang of everything and it was pretty easy. Then I had to actually print my widget and so I got to use the 3-D printer for the first time. Overall everything was new to me and I learned how to use Inventor, Maker Bot, and the 3-D printer.
